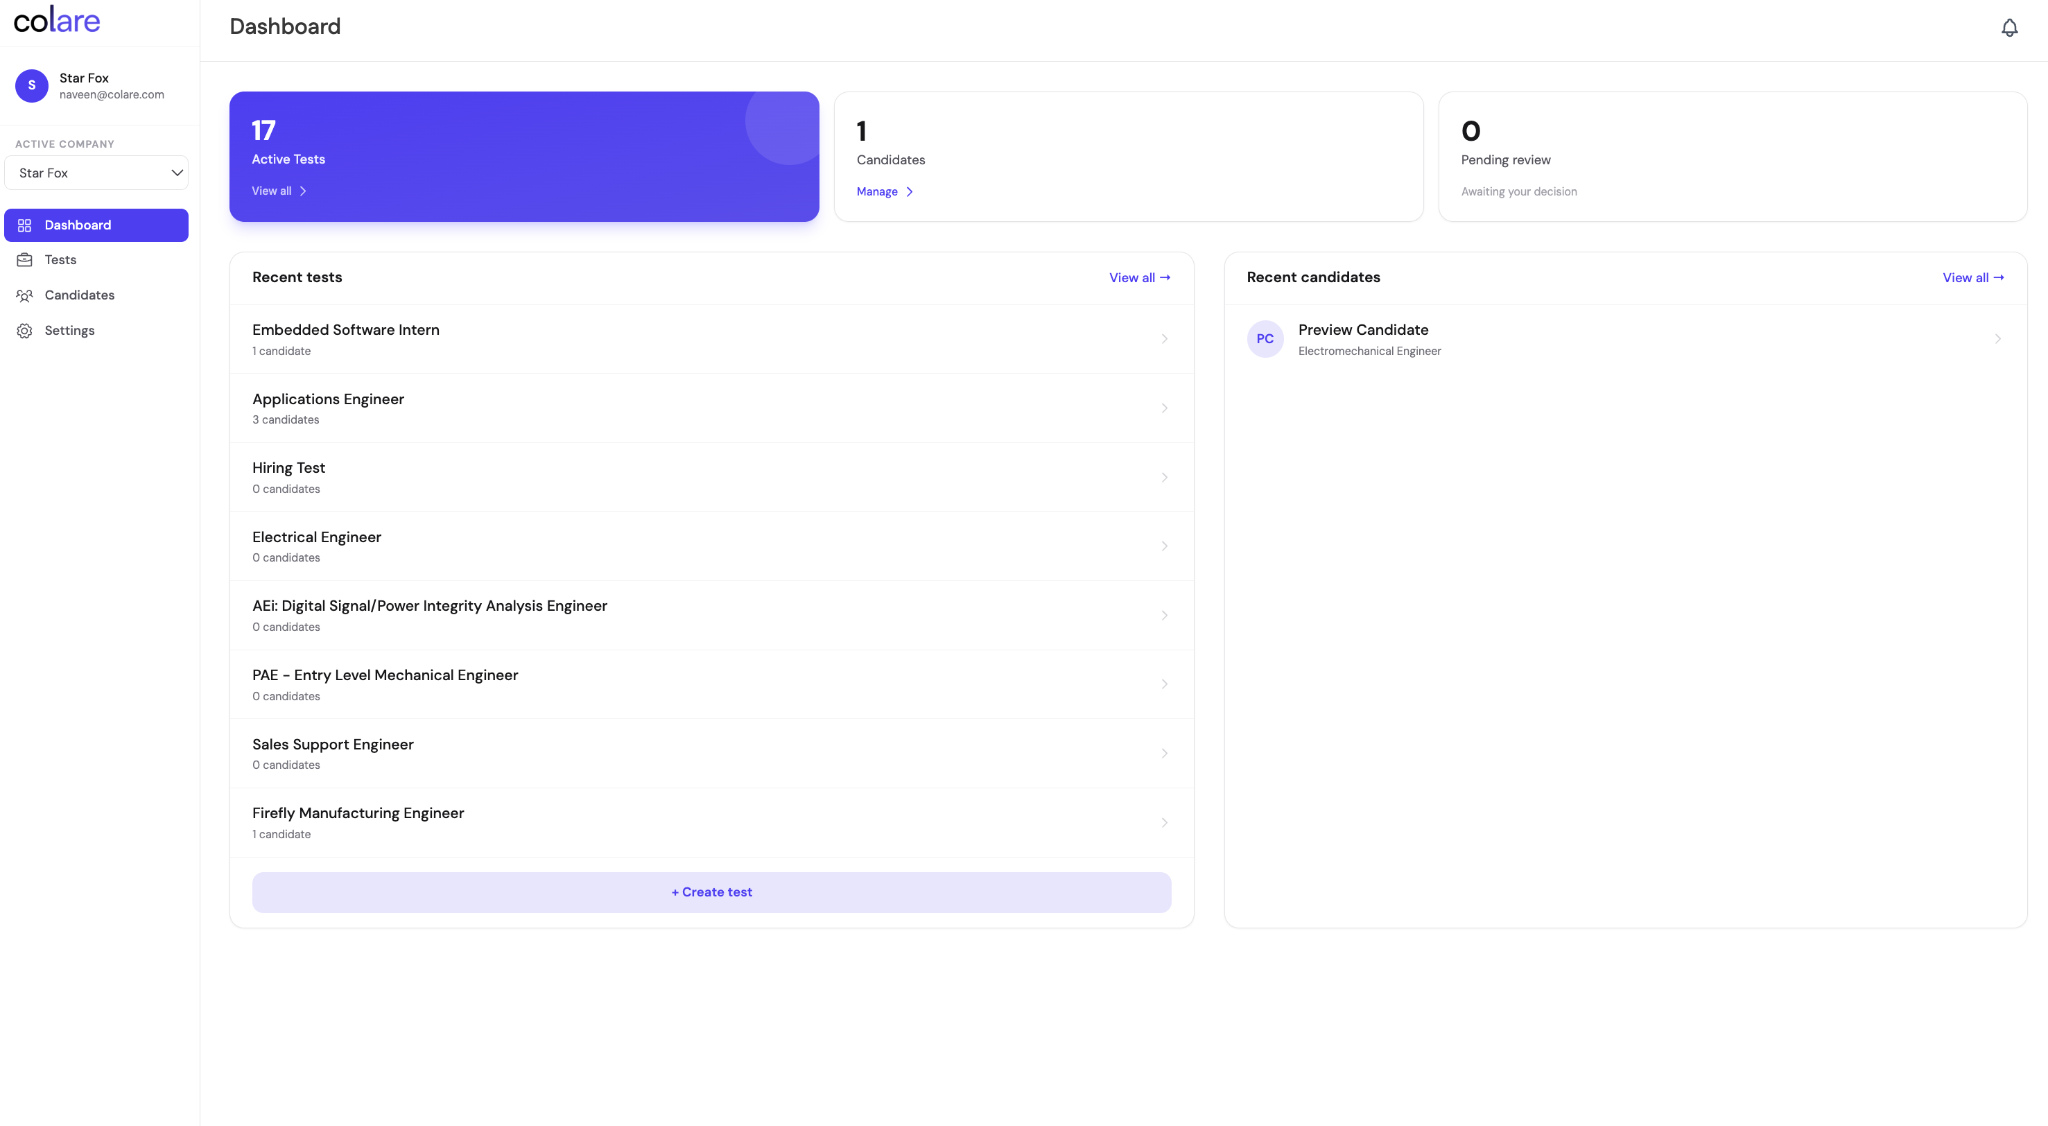
The dashboard at a glance
When you log into Colare, the dashboard is the first thing you see. It's organized into two parts: a row of summary chips at the top, and lists of your recent tests and recent candidates below.
Prefer video? See the Dashboard walkthrough for a guided tour of everything covered here.
The three summary chips
Three chips at the top of the dashboard show the most important counts in your workspace. Each is meant to be a quick check you can use to orient yourself before diving into specifics.
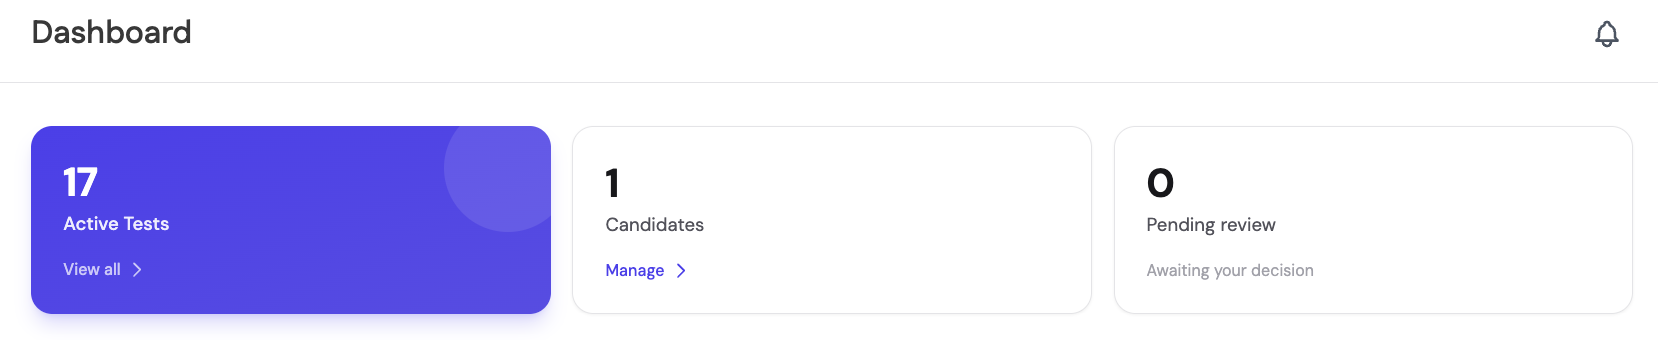
Active tests
This chip shows the number of tests currently active in your workspace , every assessment that's open and able to receive responses from candidates.
Candidates in your system
The total count of every candidate in your workspace, including everyone you've sent an assessment to and everyone you can still send to. Use this as a high-level reference for your overall candidate volume. To manage individual candidates, navigate to the Candidates section in the left-hand nav.
Pending review
This chip tracks candidates whose tests are awaiting a "Pass" or "Reject" decision. Whenever a candidate completes an assessment, they're marked as "To Review" and added to the Pending Review count. From there, you can click into their assessment results to act on the option to Reject or mark their assessment as Passed.
Recent tests and recent candidates
Below the chips, the dashboard shows two scrollable lists: your most recently created tests and the candidates most recently active on the platform.

Recent tests
This list shows your tests in the order they were created, most recent first. Click into any test to go directly into its test-specific page, where you can manage candidates, review results, and edit the assessment. Click View all at the top of the list to navigate to the full Tests section, where you can search, filter, and manage every test in your workspace.
Recent candidates
This list shows the candidates who have most recently taken action on the platform, whether that's starting an assessment, completing one, or being invited. Click into any candidate to navigate directly to their detail page. Click View all to navigate to the full Candidates section.
Navigating from the dashboard
The dashboard is the entry point, but most of the operational work happens inside the four main sections in the left-hand nav.
Tests
Where every hiring flow begins. Create, search, archive, and invite candidates.
Candidates
Your full candidate list across every assessment in the workspace.
Settings
Workspace-level configuration: profile, email defaults, team management.
Dashboard
Always one click away , the home view you came from when you logged in.
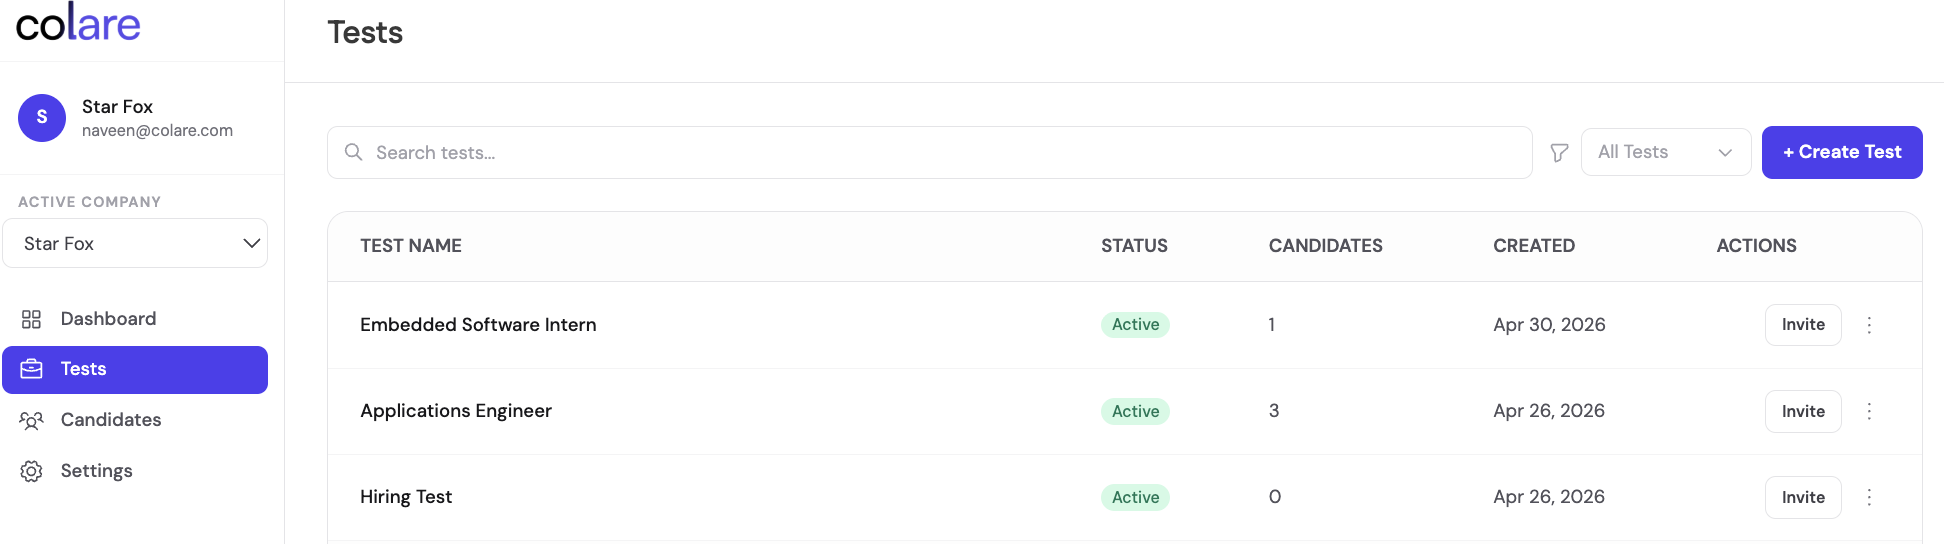
Tests
The Tests section is where every hiring flow begins.
From the Tests page, you can:
- Search for tests by name
- See how many candidates have taken each test
- See when each test was created
- Invite candidates to a test
- Delete, rename, or archive tests
- Filter tests by activity, status (draft, closed, etc.)
- Create a new test from a job description or from scratch
Archiving a test
Archiving a test removes an assessment from active use while preserving historical data and candidate results. Archived assessments can no longer be sent to new candidates, but remain accessible for reference and can be restored at any time. Any candidates still in-progress will be allowed to finish the assessment.
For more on creating tests, see How to create an assessment. For more on sending assessments to candidates, see How to send an assessment.
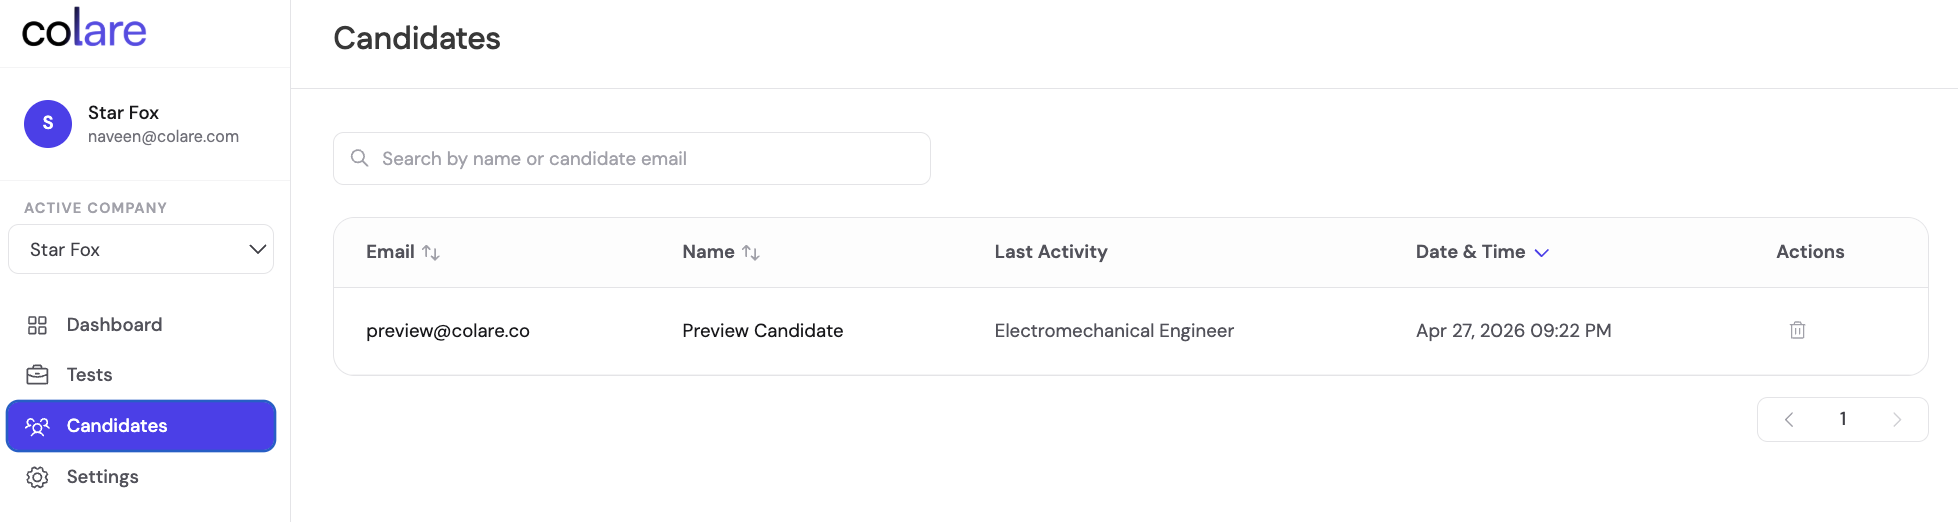
Candidates
Your full candidate list across every assessment in your workspace.
From this page, you can:
- View every candidate's name, email, and last activity timestamp
- Filter by name, email, or last activity
- Delete candidates from the system
This is the place to come when you want to look up a specific candidate or clean up your system.
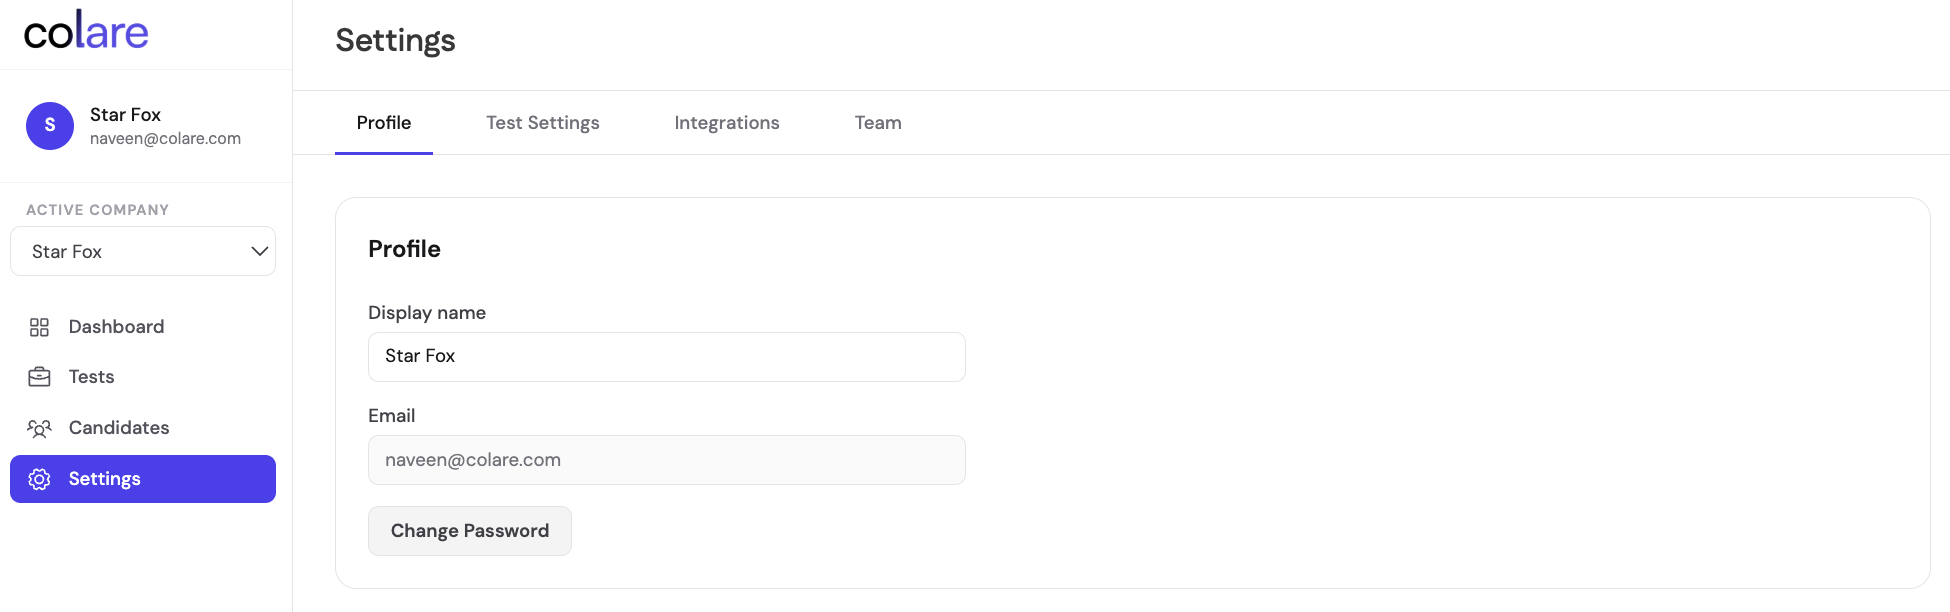
Settings
Workspace-level configuration. This includes your profile, your workspace name, and the email address that receives all candidate-related communication.
Settings is also where you configure default invitation email templates that apply across assessments and manage your team.
What's next
Once you're oriented on the dashboard, the next steps depend on where you are in your hiring flow:
- For building a new assessment, see How to create an assessment
- For sending an assessment to candidates, see How to send an assessment
- For interpreting candidate performance after they've completed an assessment, see How to review candidate scores